ANDROID CONTROLLED ROBOT
hello friends… in this blog i am going to show you how to make a android controlled robot(car)This is a smartphone controlled robot and very easy to make.
HOW DOES ANDROID CONTROLLED ROBOT WORKS
The Android application controlled robot communicates via Bluetooth to the Bluetooth module present on the robot. While pressing each button on the application, corresponding commands are sent via Bluetooth to the robot. The commands that are sent are in the form of ASCII. The Arduino on the robot then checks the command received with its previously defined commands and controls the servo motors depending on the command received to cause it to move forward, backward, left, right or to stop
so lets start
Things needed
1.arduino nano
Arduino is an open-source electronics platform based on easy-to-use hardware and software. Arduino boards are able to read inputs – light on a sensor, a finger on a button, or a Twitter message – and turn it into an output – activating a motor, turning on an LED, publishing something online. You can tell your board what to do by sending a set of instructions to the microcontroller on the board. To do so you use the Arduino programming language (based on Wiring), and the Arduino Software (IDE), based on processing. Over the years Arduino has been the brain of thousands of projects, from everyday objects to complex scientific instruments. A worldwide community of makers – students, hobbyists, artists, programmers, and professionals – has gathered around this open-source platform, their contributions have added up to an incredible amount of accessible knowledge that can be of great help to novices and experts alike.
Arduino was born at the Ivrea Interaction Design Institute as an easy tool for fast prototyping, aimed at students without a background in electronics and programming. As soon as it reached a wider community, the Arduino board started changing to adapt to new needs and challenges, differentiating its offer from simple 8-bit boards to products for IOT applications, wearable, 3D printing, and embedded environments. All Arduino boards are completely open-source, empowering users to build them independently and eventually adapt them to their particular needs.
The software, too, is open-source, and it is growing through the contributions of users worldwide.
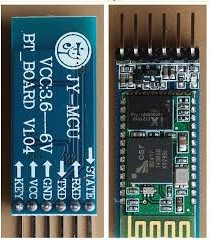
2.bluetooth module(HC-05 or HC-06)
HC-05 module is an easy to use Bluetooth SPP (Serial Port Protocol) module, designed for transparent wireless serial connection setup.
Serial port Bluetooth module is fully qualified Bluetooth V2.0+EDR (Enhanced Data Rate) 3Mbps Modulation with complete 2.4GHz radio transceiver and baseband. It uses CSR Bluecore 04-External single chip Bluetooth system with CMOS technology and with AFH(Adaptive Frequency Hopping Feature). It has the footprint as small as 12.7mmx27mm. Hope it will simplify your overall design/development cycle.
Hardware Features
· Typical -80dBm sensitivity
· Up to +4dBm RF transmit power
· Low Power 1.8V Operation ,1.8 to 3.6V I/O
· PIO control
· UART interface with programmable baud rate
· With integrated antenna
Software Features
· Default Baud rate: 38400, Data bits:8, Stop bit:1,Parity:No parity, Data control: has.
· Supported baud rate:9600,19200,38400,57600,115200,230400
· Given a rising pulse in PIO0, device will be disconnected. • Status instruction port PIO1: low-disconnected, high-connected; • PIO10 and PIO11 can be connected to red and blue led separately. When master and slave are paired, red and blue led blinks 1time/2s in interval, while disconnected only blue led blinks 2times/s.
· Auto-connect to the last device on power as default.
· Permit pairing device to connect as default.
· Auto-pairing PINCODE:”0000” as default
· Auto-reconnect in 30 min when disconnected as a result of beyond the range of connection.
3.motor driver (L298 or L293D)
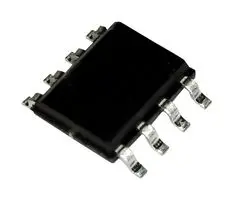
The L298 is an integrated monolithic circuit in a 15-lead Multiwatt and PowerSO20 packages. It is a high voltage, high current dual full-bridge driver designed to accept standard TTL logic levels and drive inductive loads such as relays, solenoids, DC and stepping motors. Two enable inputs are provided to enable or disable the device independently of the input signals. The emitters of the lower transistors of each bridge are connected together and the corresponding external terminal can be used for the connection of an external sensing resistor. An additional supply input is provided so that the logic works at a
4.2*BO MOTOR (with wheels)
Gear motors are primarily used to reduce speed in a series of gears, which in turn creates more torque. This is accomplished by an integrated series of gears or a gear box being attached to the main motor rotor and shaft via a second reduction shaft. The second shaft is then connected to the series of gears or gearbox to create what is known as a series of reduction gears. Generally speaking, the longer the train of reduction gears, the lower the output of the end, or final, gear will be.
For example, while the rotor spins at about 1500 revolutions per minute, the reduction gears allow the final secondhand gear to spin at only one revolution per minute. This is what allows the secondhand to make one complete revolution per minute on the face of the clock.
Gear Motors and Increased Force
Gear motors are commonly used in commercial applications where a piece of equipment needs to be able to exert a high amount of force in order to move a very heavy object. Examples of these types of equipment would include a crane or lift Jack.
If you’ve ever crane can be used to lift and move very heavy objects. The electric motor used in most cranes is a type of gear motor that uses the basic principles of speed reduction to increase torque or force.
Gear motors used in cranes are usually specialty types that use a very low rotational output speed to create incredible amounts of torque. However, the principles of the gear motor used in a crane are exactly the same as those used in the example electric time clock. The output speed of the rotor is reduced through a series of large gears until the rotating, RPM speed, of the final gear is very low. The low RPM speed helps to create a high amount of force which can be used to lift and move the heavy objects.
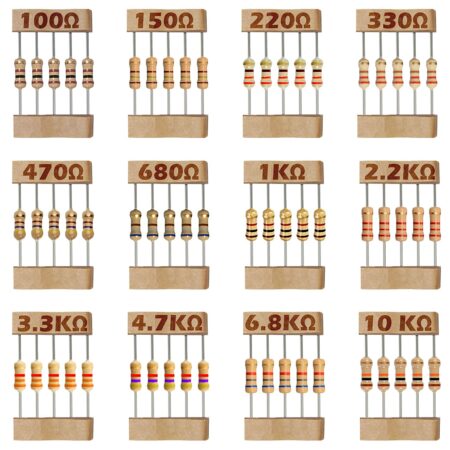
5.resistor(220 OHM)
6.batteris(2*18650 li-ion 3.7v )
A stable dc power supply is nesssory for the proper working of the electronic system.the required dc poweris obtained by two 18650 li-ion 2500mah batteries .but the microcontroller needs 5v to work correctly… so we added a 5v regulator . that is a lm7805 used.
7.common pcb
8.connecting wires
9.soldering iron
10.glue gun
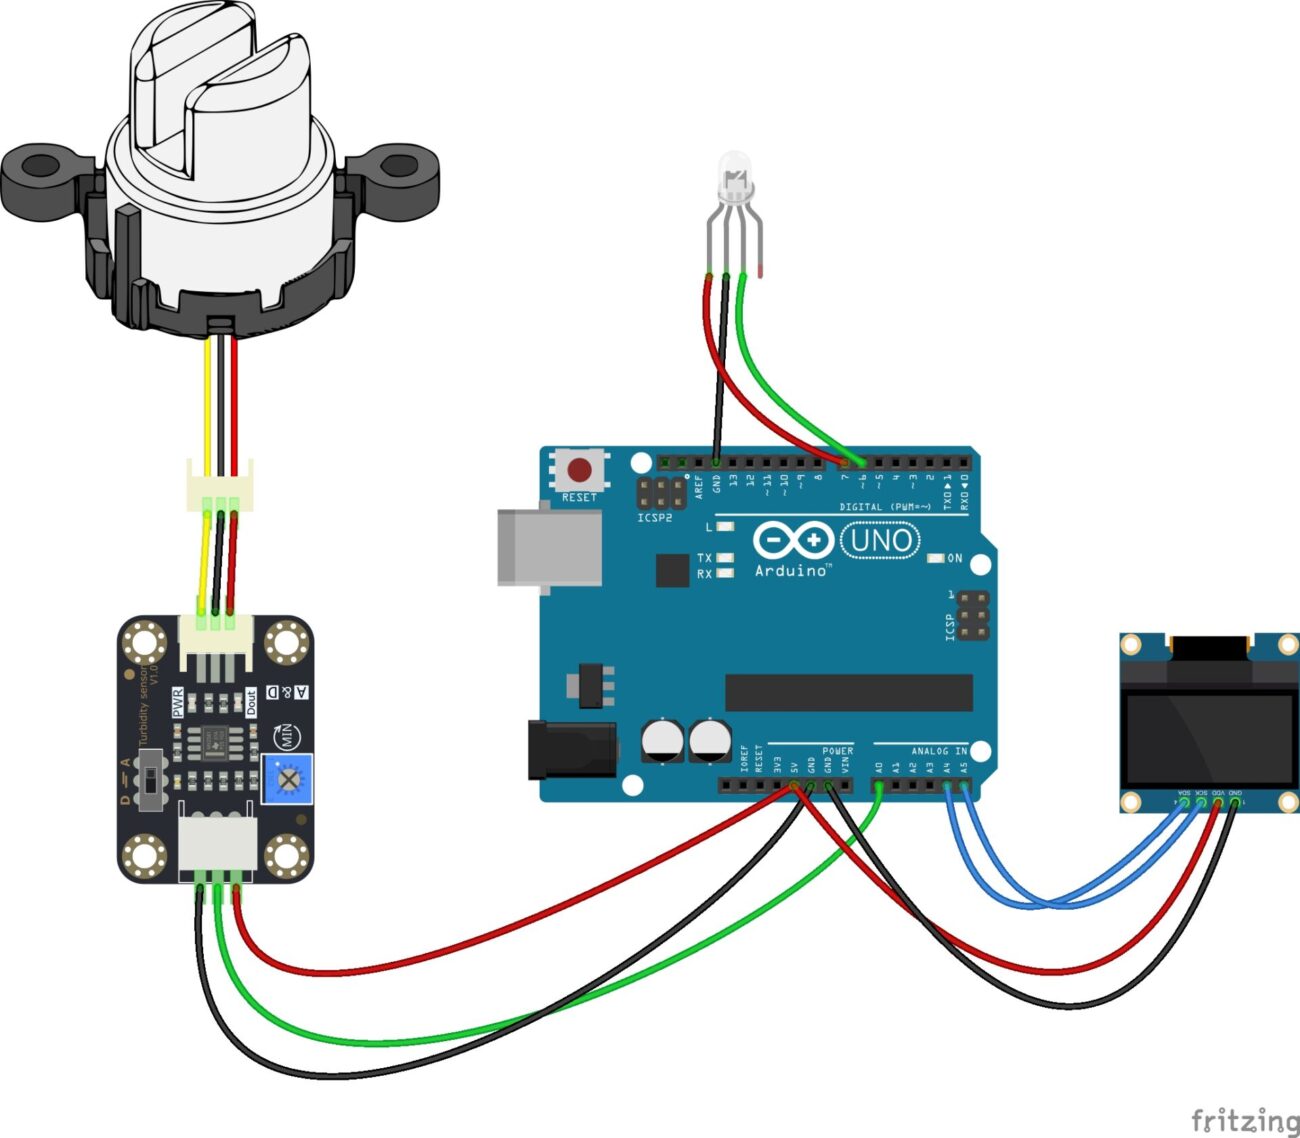
 circuit diagram
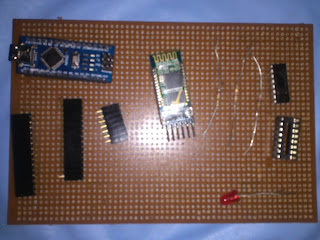
solder all componets on a common pcb
now lets make the chase of rover
PROGRAM and CIRCUIT
MAKEING THE APP
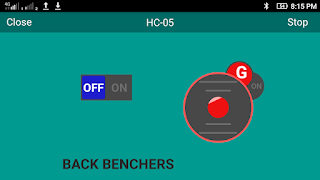
i used REMOTEXY to make the app.
download remotexy app from playstore then connect to bluetooth
REMOTEXY
RemoteXY is easy way to make and use a mobile graphical user interface for controller boards to control via smartphone or tablet. The system includes:
· Editor of mobile graphical interfaces for controller boards, located on the site remotexy.com
· Mobile app RemoteXY that allows to connect to the controller and control it via graphical interface. Download app.
· Distinctive features:
The interface structure is stored in the controller. When connected, there is no interaction with servers to download the interface. The interface structure is downloaded to the mobile application from the controller.
One mobile application can manage all your devices. The number of devices is not limited.
· Connection between the controller and the mobile device using:
Bluetooth;
WiFi client and access point;
Ethernet by IP or URL;
Internet from anywhere through the cloud server.
· The source code generator have support next controllers:
Arduino UNO, Arduino MEGA, Arduino Leonardo, Arduino Pro Mini, Arduino Nano, Arduino MICRO;
WeMos D1, WeMos D1 R2, WeMos D1 mini;
NodeMCU V2, NodeMCU V3;
TheAirBoard;
ChipKIT UNO32, ChipKIT uC32, ChipKIT Max32;
· Supported communication modules:
Bluetooth HC-05, HC-06 or compatible;
WiFi ESP8266;
Ethernet Shield W5100;
· Supported IDE:
Arduino IDE;
FLProg IDE;
MPIDE;
· Supported mobile OS:
Android;
· RemoteXY is easy way to make a unique graphical interface to control microcontroller device via mobile application, Arduino for example.
· RemoteXY allows:
· To develop any graphical management interface, using the control, display and decoration elements any combination thereof. You can develop the graphical
· interface for any task, placing the elements on the screen using the online editor. Online editor posted on the website remotexy.com.
· After the development of the graphical interface, you get the source code for the microcontroller that implements your interface. The source code provides a structure for interaction between your program with the controls and display. Thus you can easily integrate the control system into your task for which you are developing the device.
· To manage microcontroller device using your smartphone or tablet with the graphical interface. For manage used mobile application RemoteXY.
At the beginning of defined a pins that will be used to control the motors. Further – pins are grouped into two arrays, both left and right motor respectively. To control each motor via the driver chip L298N necessary to use three signals: two discrete, the rotating direction of the motor, and one analog, determining the rotational speed. Calculation this pins we have engaged in the function Wheel. The input to the function is passed a pointer of pin’s array selected motor and the speed of rotation as a signed value from -100 to 100. If you value of speed is 0, the motor is switched off.
In a predetermined function setup configured are outputs pins. For analog signal used pins, which can operate as a PWM converters. This pins 9 and 10, they do not require configured in the IDE Arduino.
In a predetermined function loop in each iteration of program calling the handler RemoteXY library. Further there is the control of LED, then controls the motors. For motor control read the joystick coordinates X and Y from fields structure of RemoteXY. Based on the coordinates is operation to calculate the speed of each motor, and call function Wheel, is set the speed of the motor. These calculations are performed in each cycle of the program, ensuring continuous control calculations pins of motors based on the coordinates of the joystick.
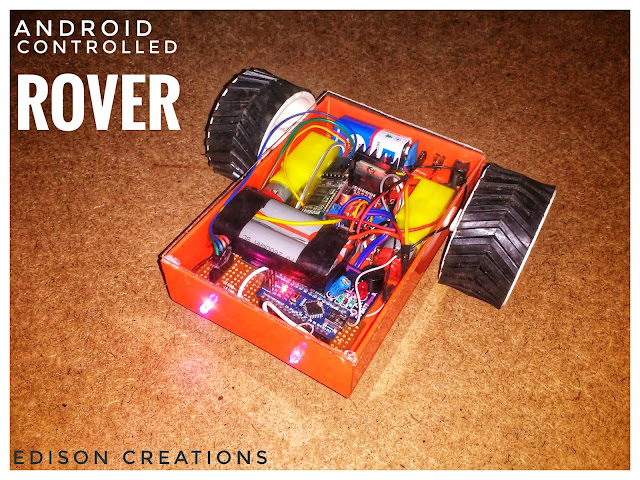
completed robot










Leave a comment