


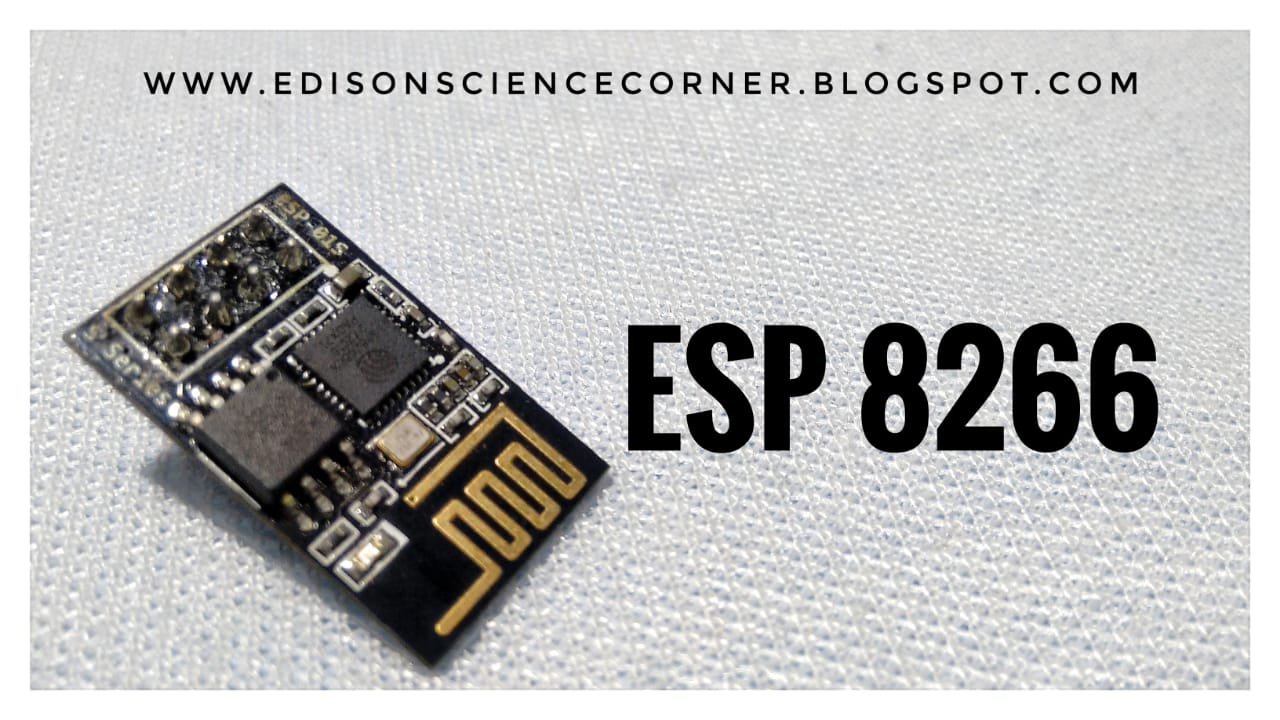
In this tutorial, I am going to show how to program ESP8266 – 01 using Arduino board
first, open Arduino ide
1.go to preferences
paste this link there http://arduino.esp8266.com/package_esp8266com_index.json
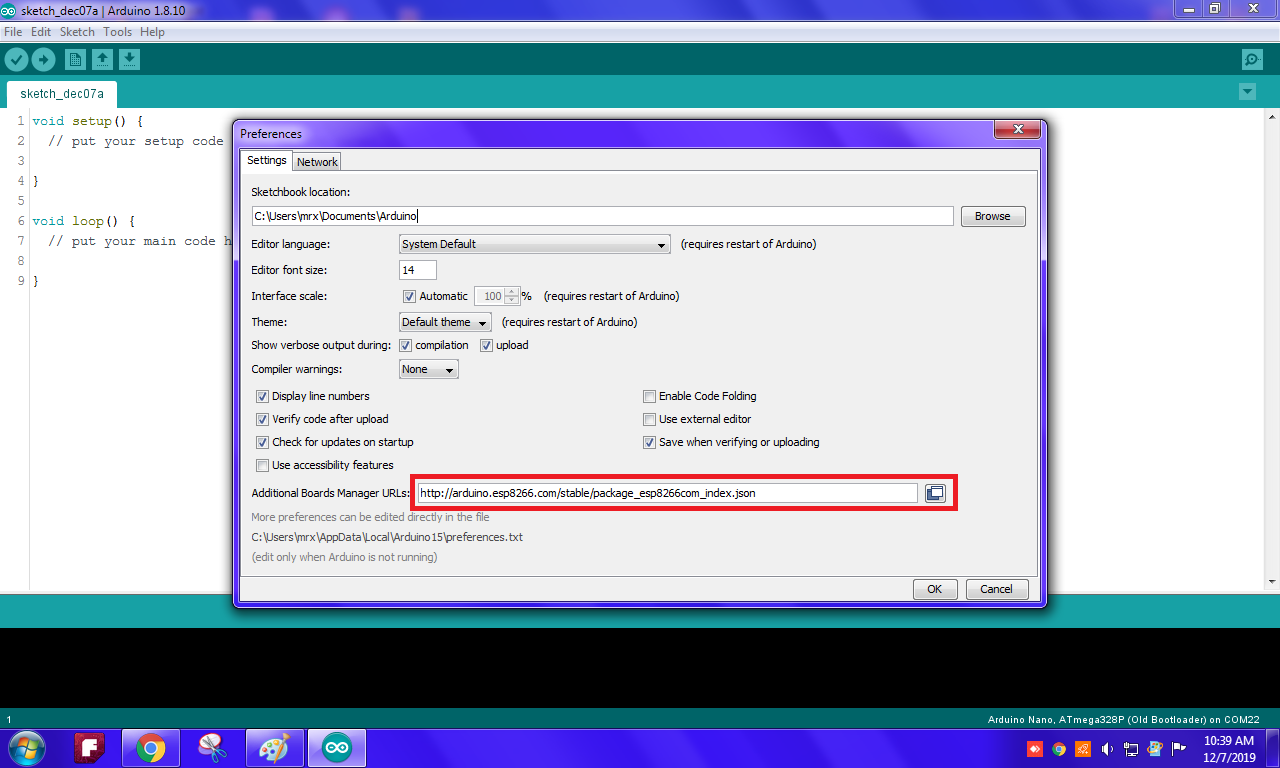
this will add esp01 information to Arduino ide
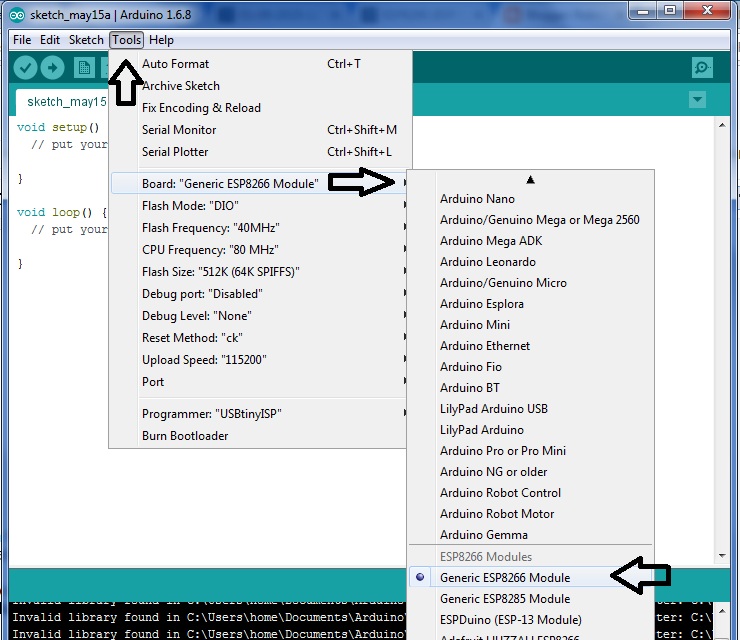
2.then go to tools-boards-board manager
then install esp8266now go-to tools- boards

3.now go-to tools- boards select generic esp8266 board
circuit diagram

Connection information
– ESP8266 VCC – 3.3volt
– ESP8266 GND – GND of Arduino
– ESP8266 CH_PD – 3.3volt
– ESP8266 RST ground it for reset
– ESP8266 GPIO 0 – ground it at the time of uploading program.
RX, TX Connection for Arduino
– ESP8266 RX – RX of Arduino
– ESP8266 TX – TX of Arduino
-connect rst to gnd off Arduino
go to files-examples-esp8266-blink
select board and port then upload the sketch to your board this will took upto3 minutes maybe so wait patiently.
after uploading connect(then remove) the reset pin to ground and remove pin0 from ground
then repower the board u should see blinking led on esp board

Do you mіnd if I quote a few of your posts as long aѕ I
provide credit and ѕources back to your blog? My Ƅlog
site is in the very same area of interеst as youгs and my visitors woսld definitely benefit from a lot of the information you present heгe.
Please let me know if this okay with you. Thanks!
Feel frеe to surf to my website: political
no problem please leave credits